Same fixture, just opening a different window
The R1 chip is purely a UI surface — no extra fixture state needed beyond what the M1/M2 walkthroughs already use. The chip's content is derived from coordinator.deviceRole (the Mac's static role is Operator; iPad's is Primary) plus the capabilities cache (which advertises silently in the background regardless of whether the chip is visible).
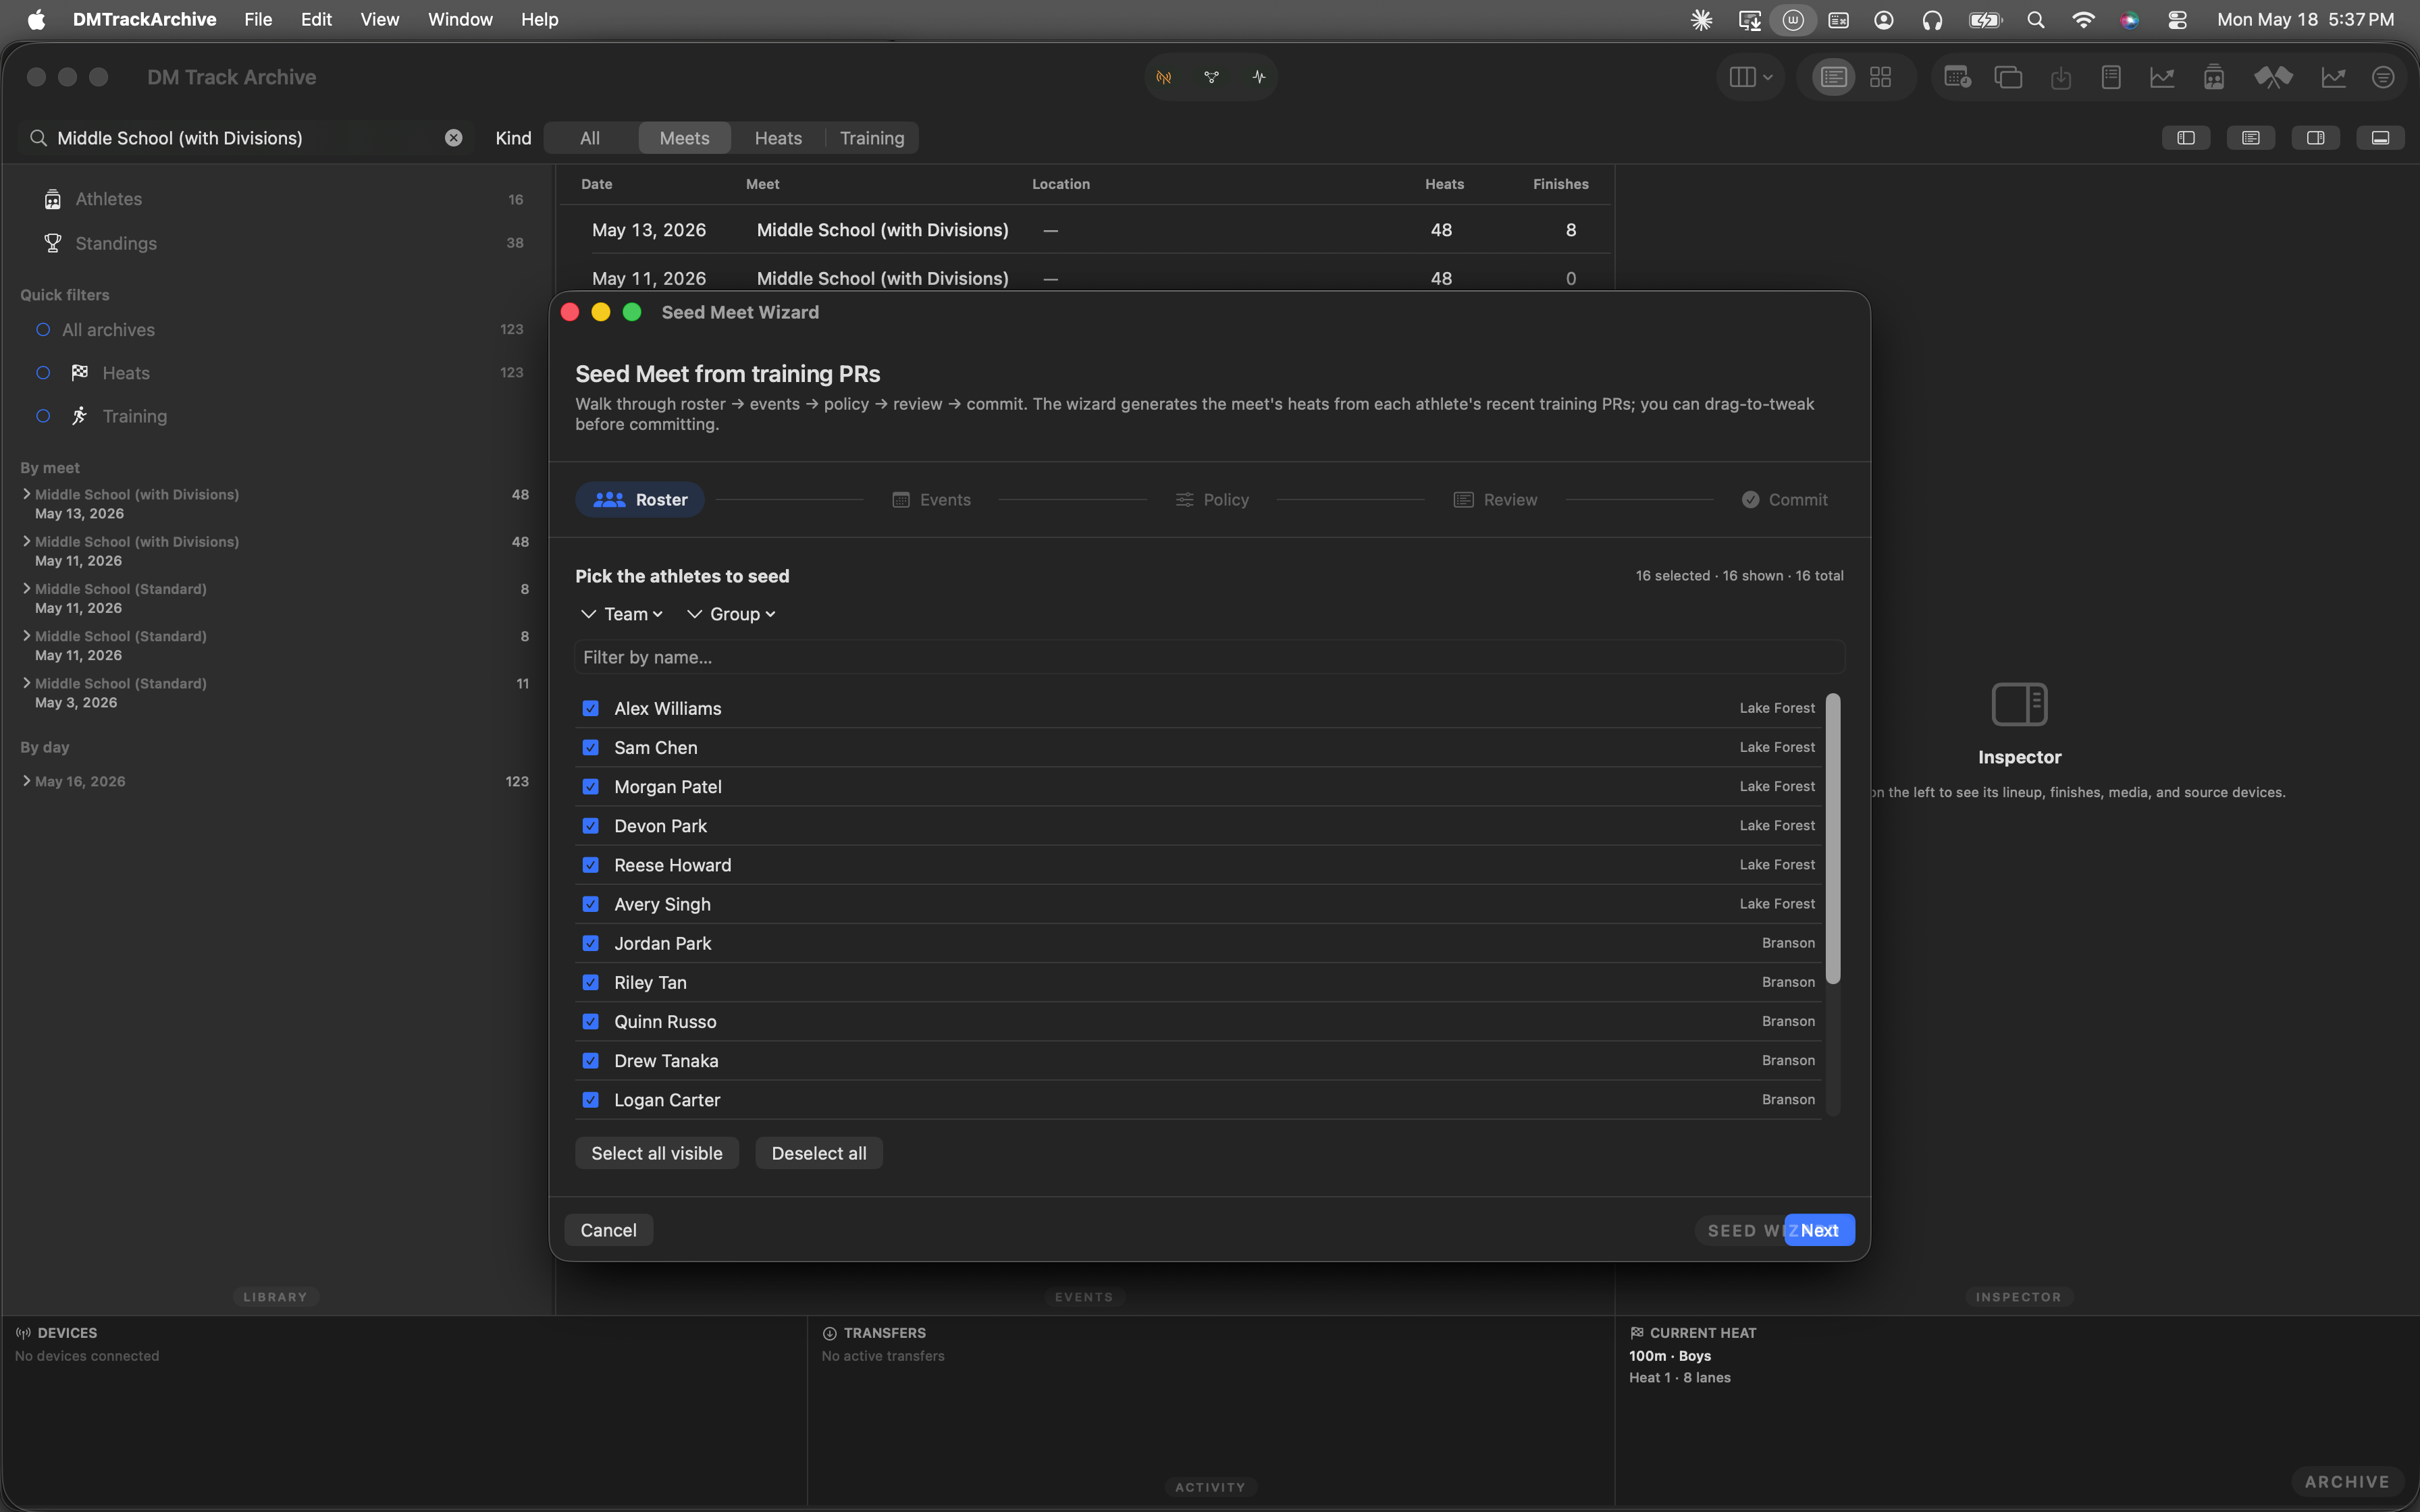
Mac archive just after launch.
Open Live Meet
The role chip lives in the Live Meet window's header (the iPad and iPhone surface them too — same chip code, same styling, different host). On the Mac, Cmd+Shift+M opens Live Meet, or pick it from the Window menu — below, with the entry highlighted in blue so you can see what to click.
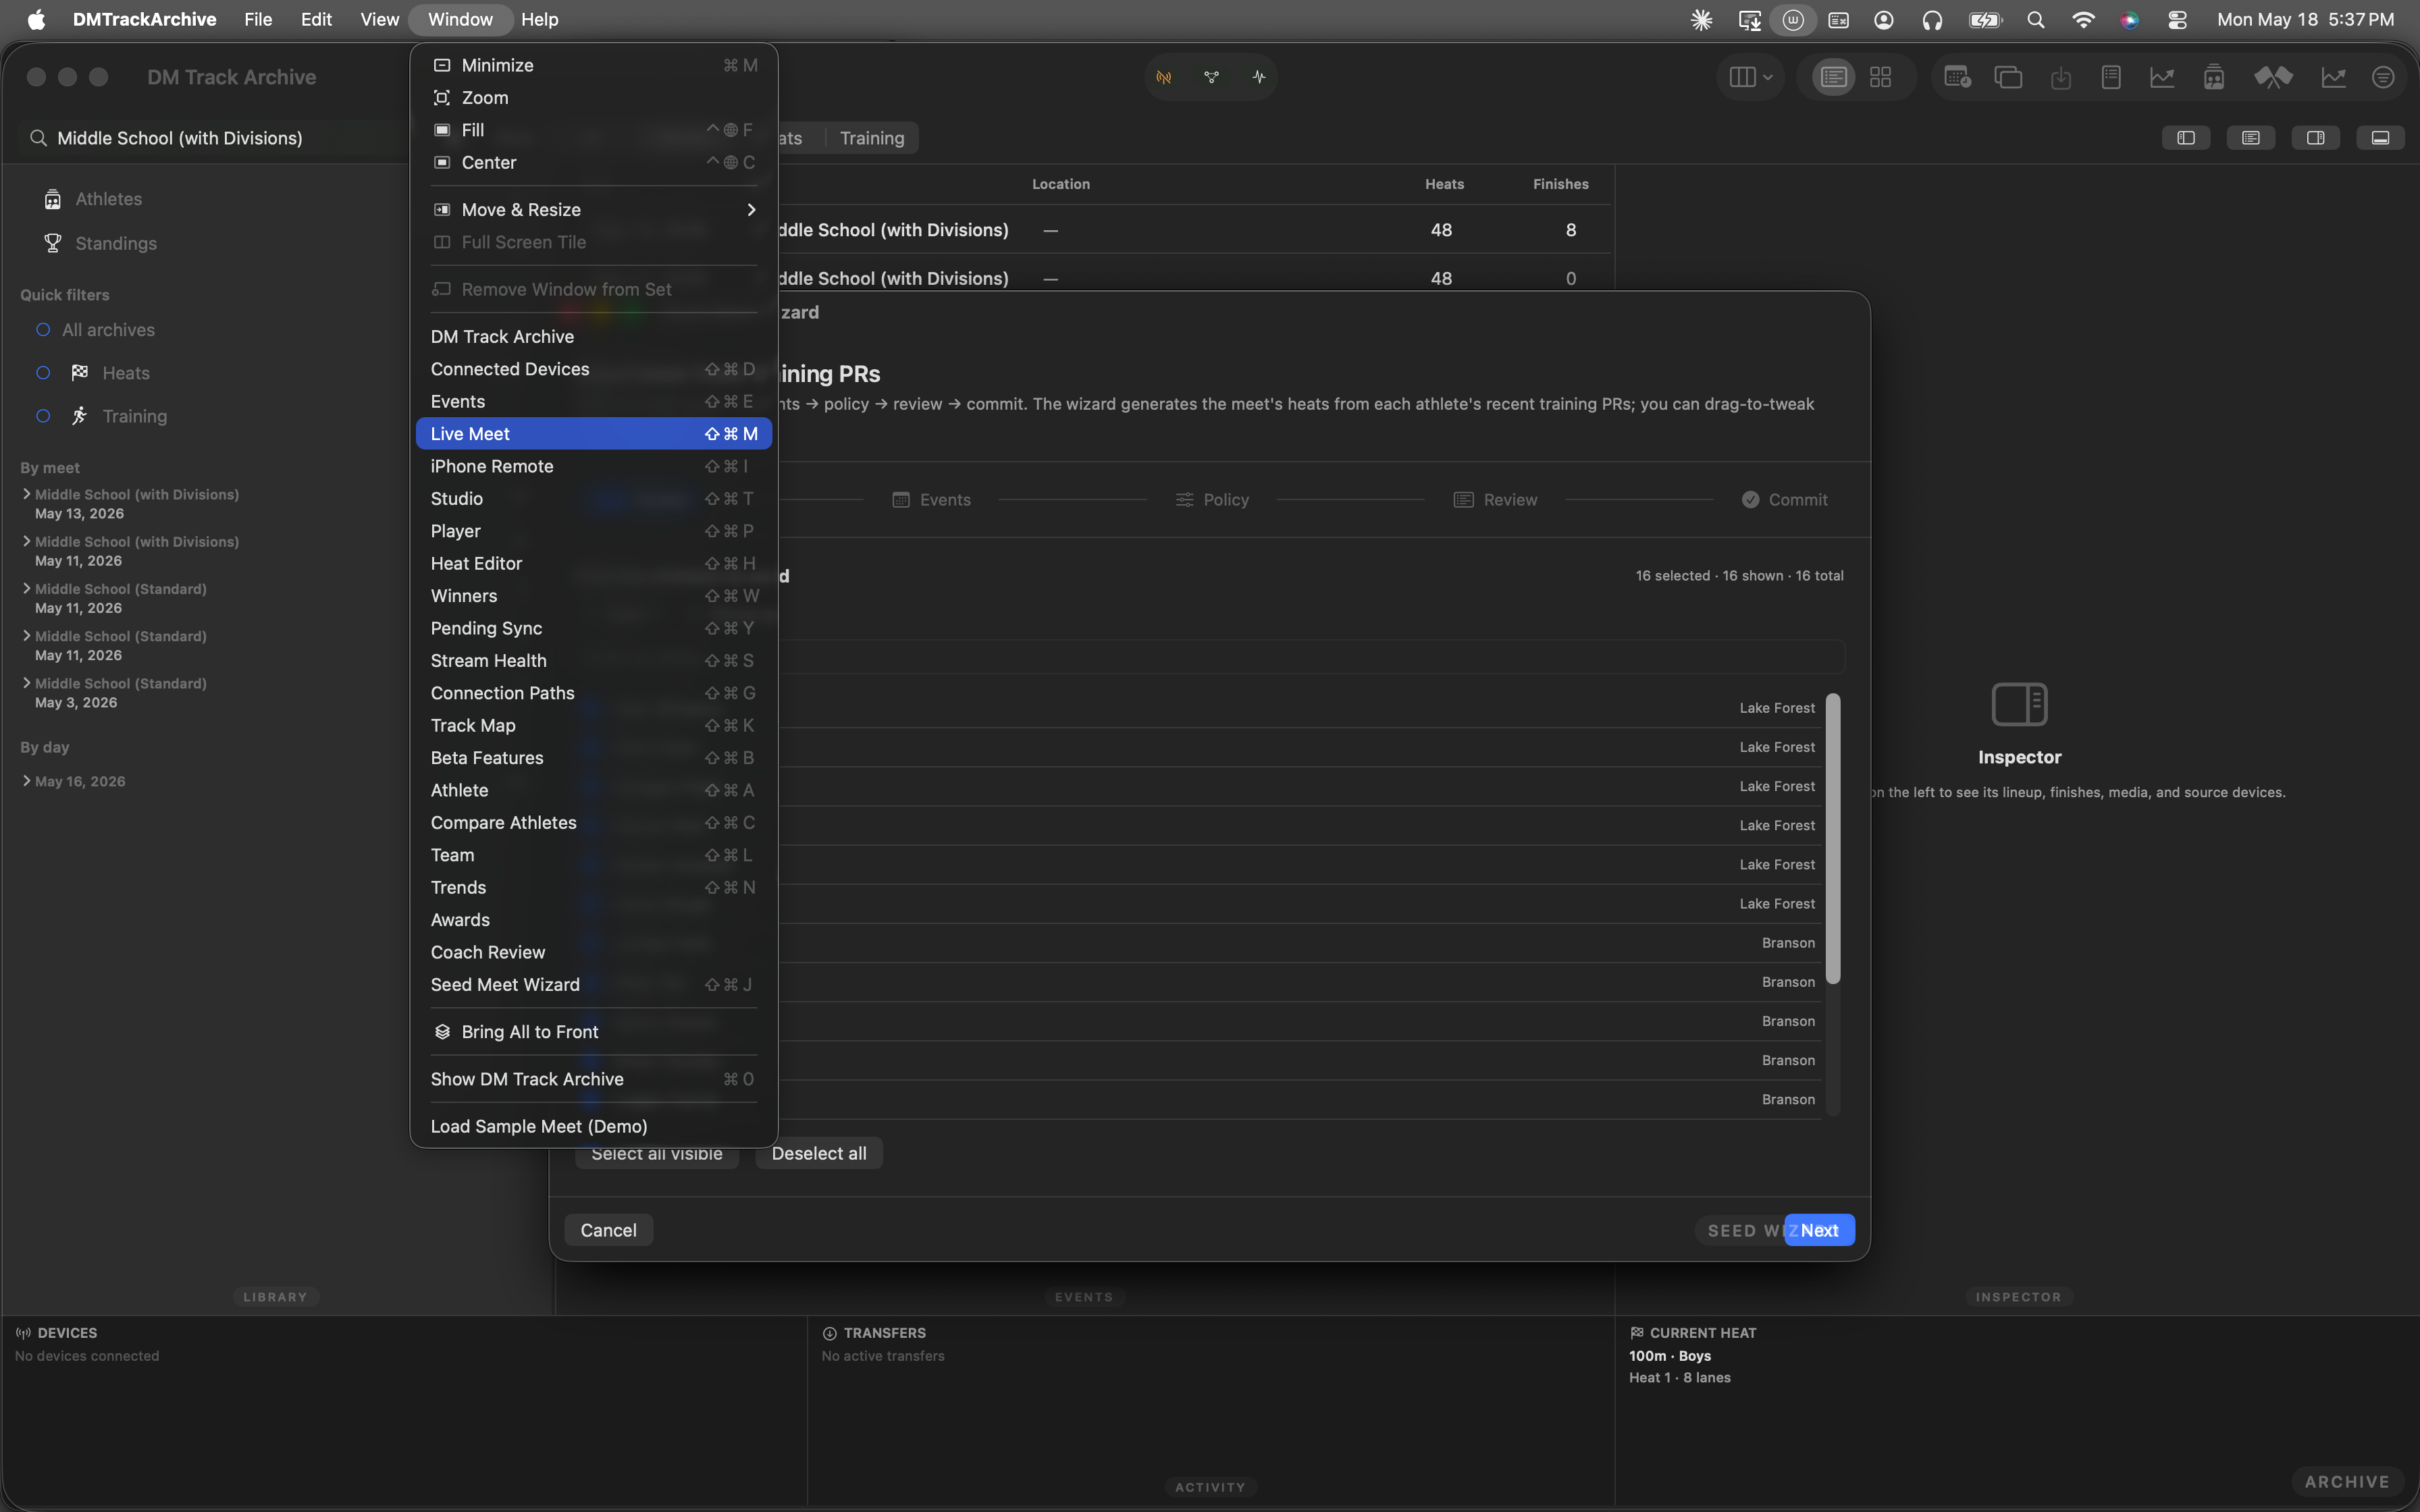
Window menu · Live Meet highlighted · ⌘⇧M shown next to the entry.
Spot the chip in the header
The Live Meet window opens onto the Sample Invitational meet. Look at the top row of the meet header, right of the meet title: the chip reads Operator with a gray "you're just looking" tint (the Mac doesn't host the timing bus today — that's the iPad's role). Next to it: the Cloud Sync chip, then the Studio / Track Map / Start Sources buttons.
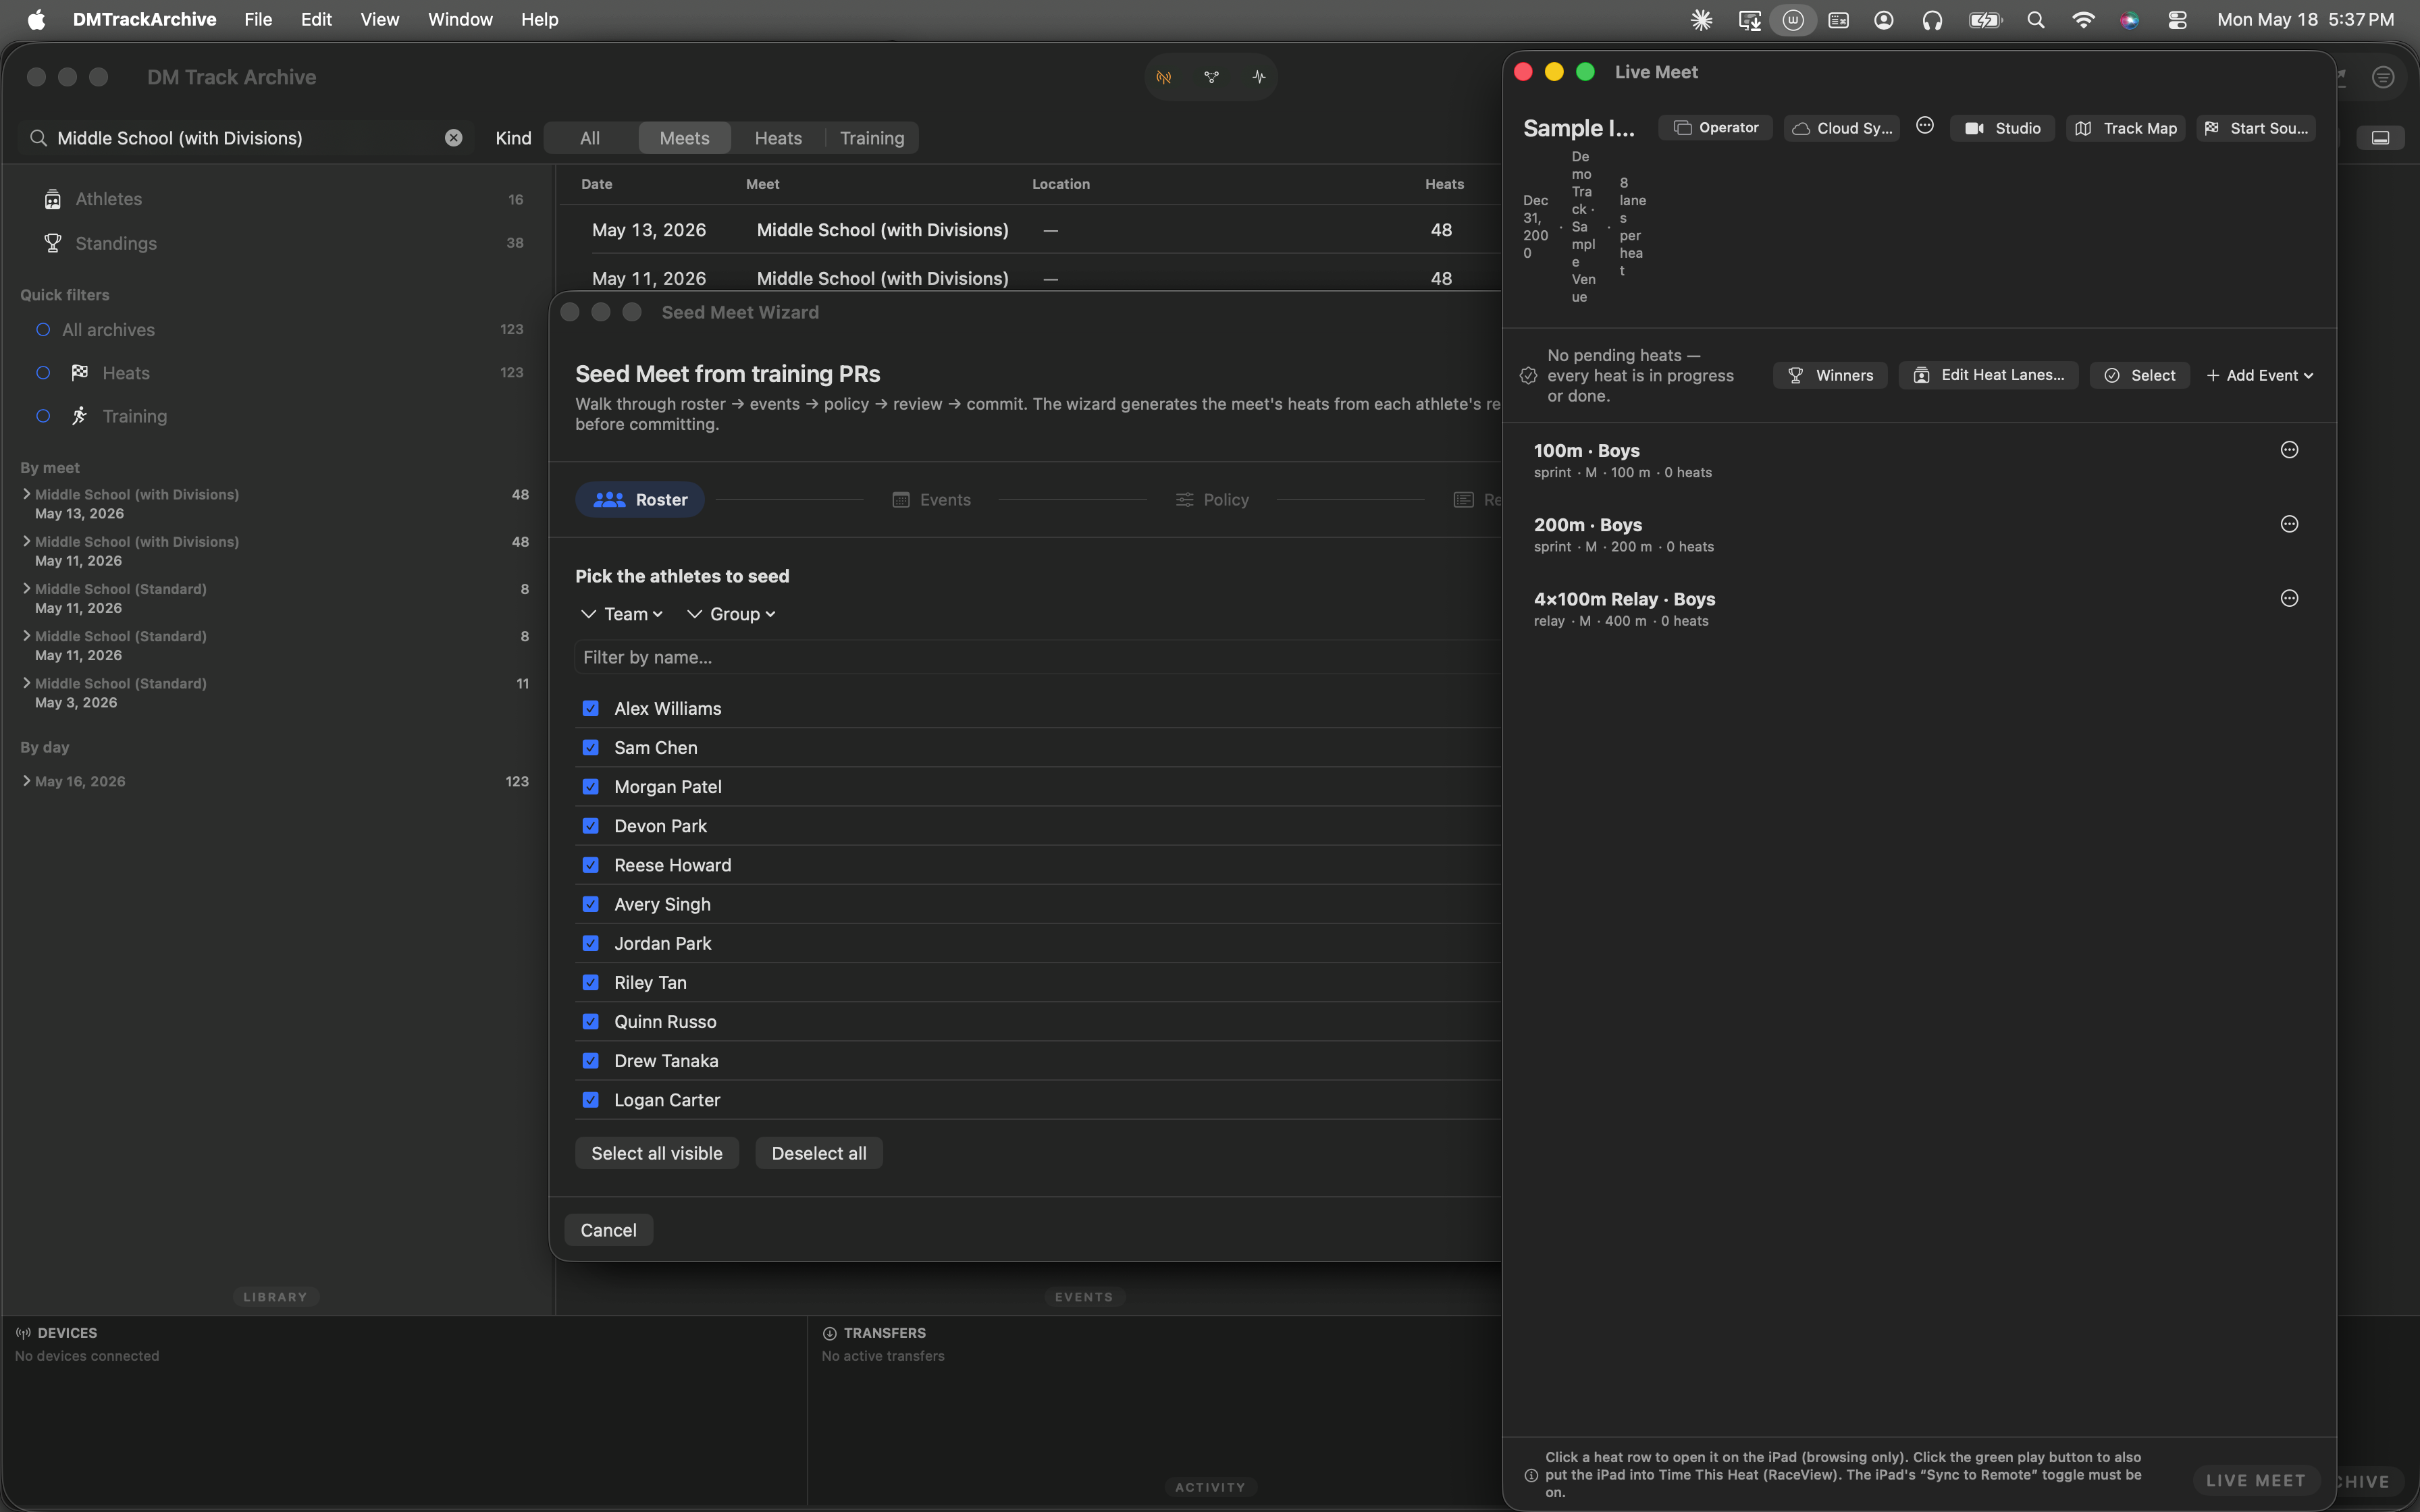
Live Meet header, left to right: meet title · Operator role chip · Cloud Sync chip · Studio · Track Map · Start Sources.
Hover the chip
The chip is a Button when an onTap handler is provided, which Live Meet supplies — readers see the button-bordered state on hover. Hovering before the click also surfaces the tooltip via SwiftUI's .help(...) modifier: "Mac's role · Operator (informational only in R1)".
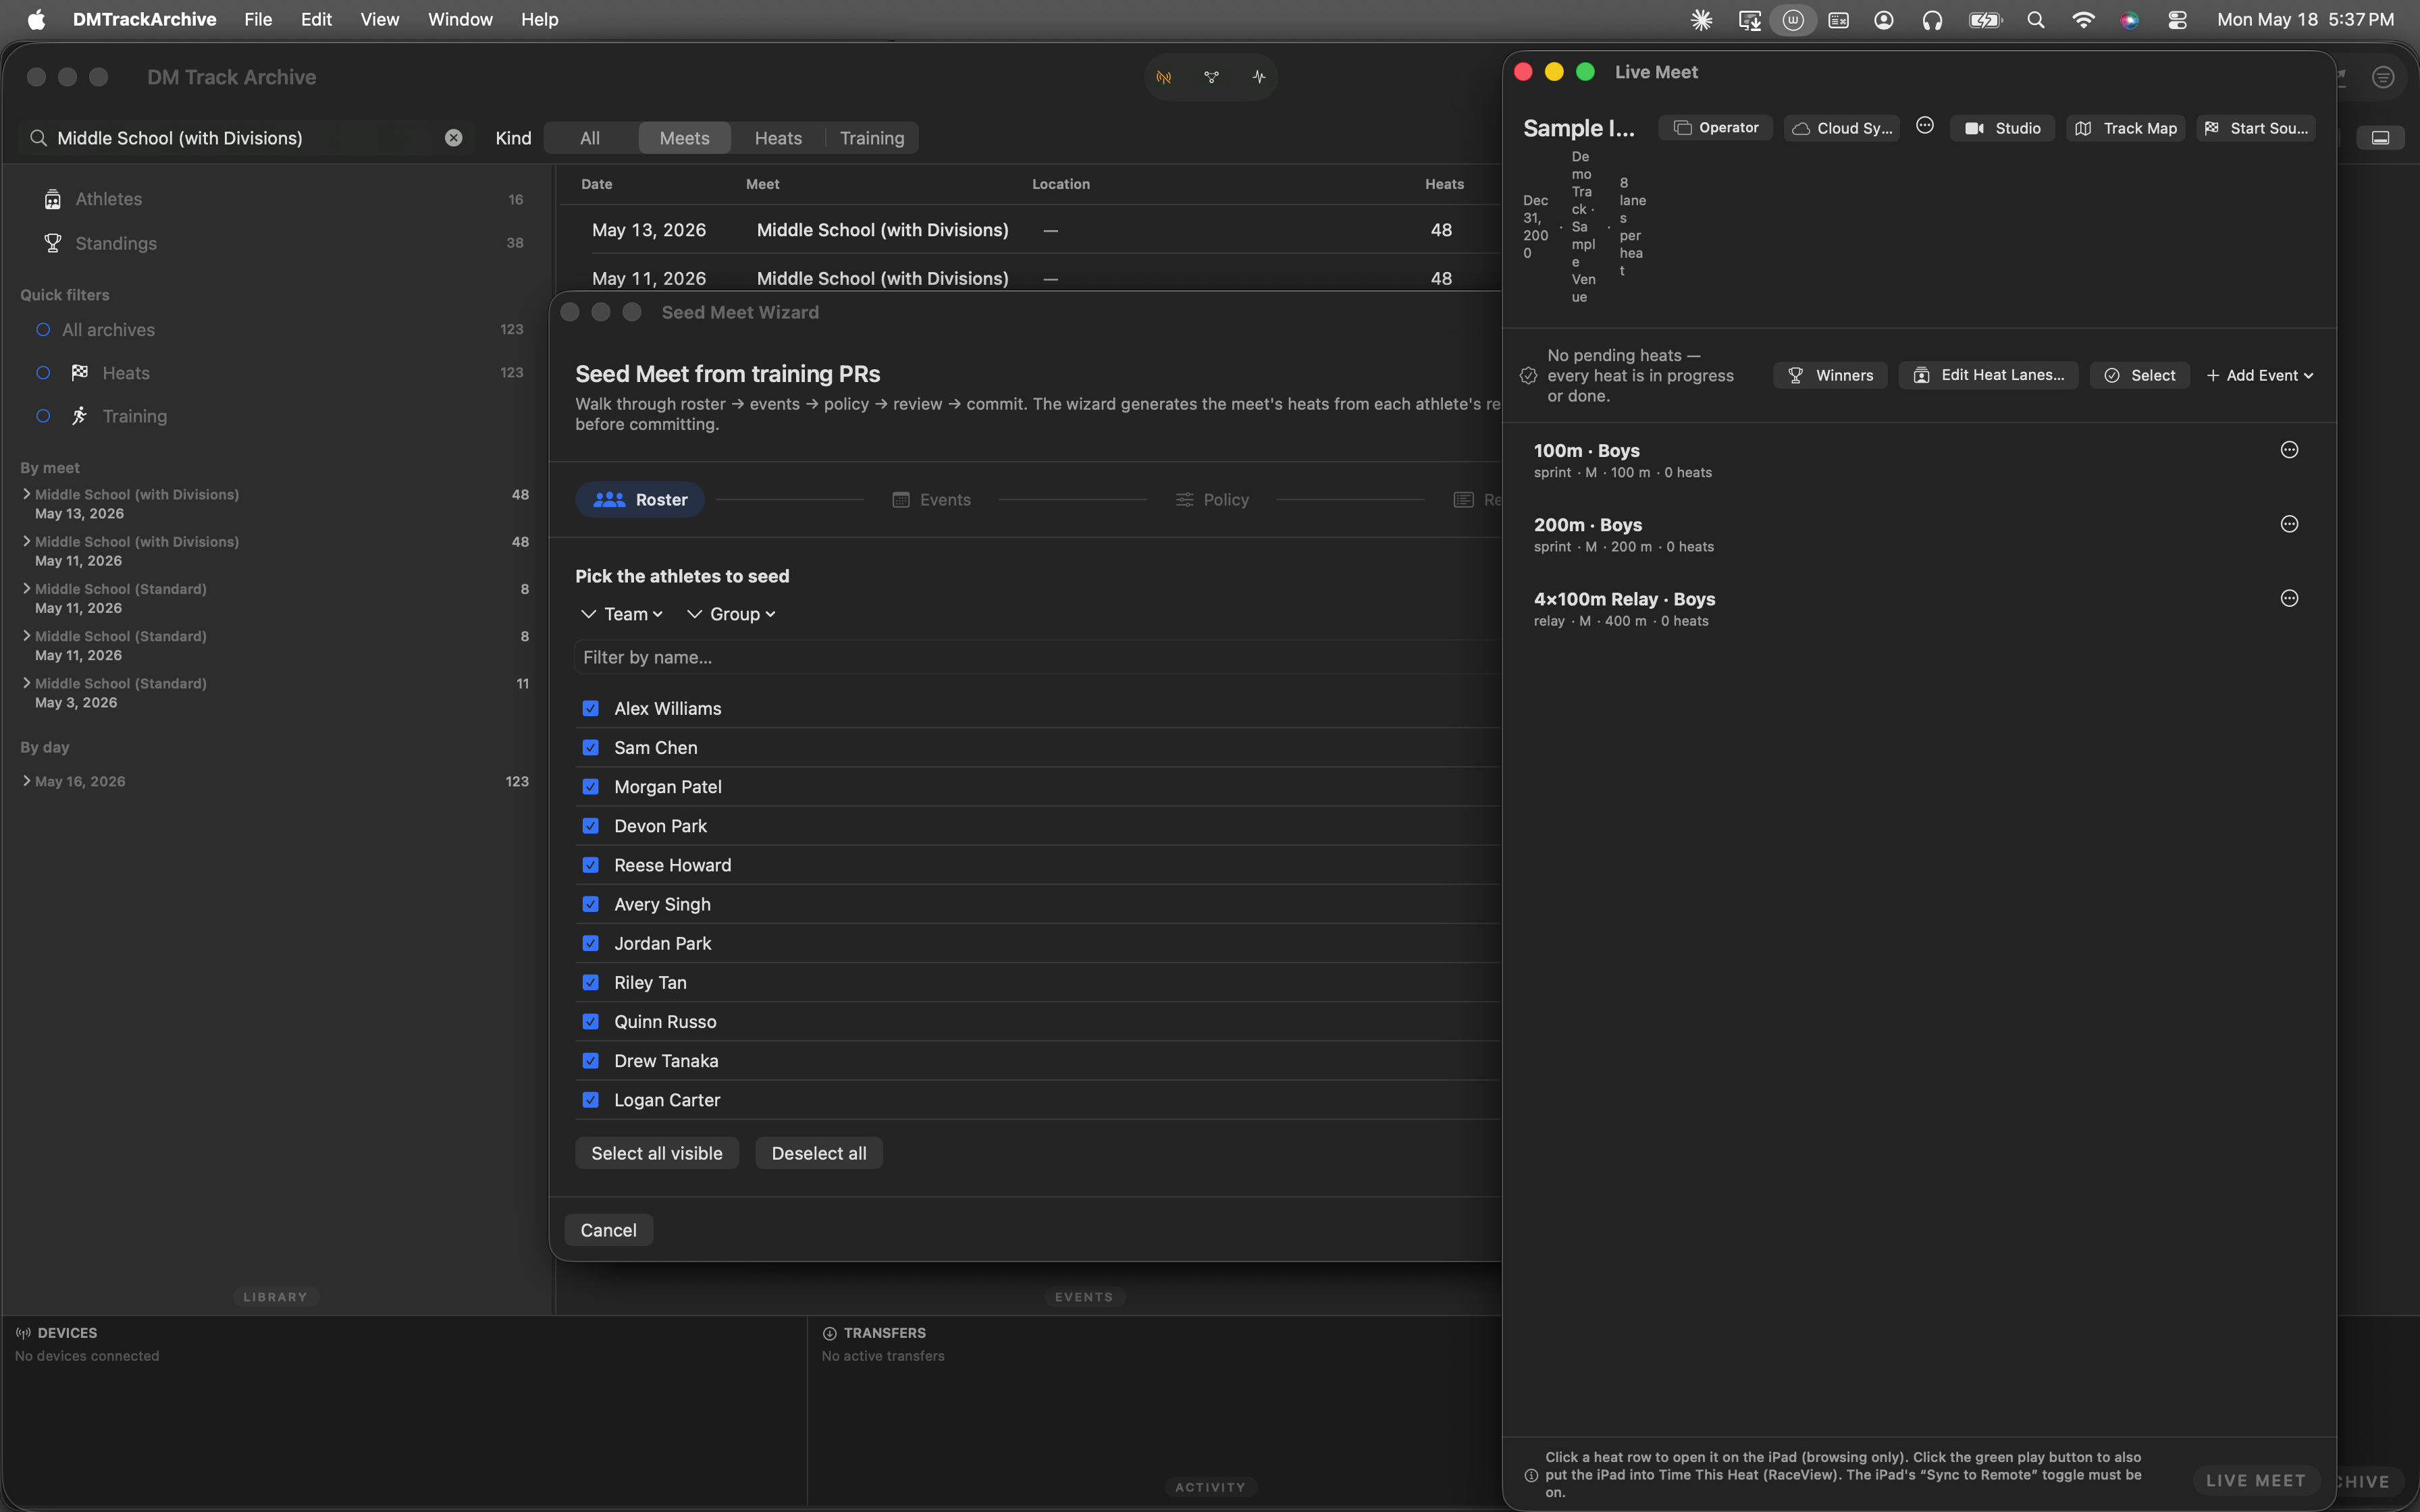
Chip hovered. The bordered-button styling makes it clear the chip is tappable.
The capabilities popover
Clicking the chip anchors a popover below it listing every connected device the coordinator has seen capability data for. Each row: device name + role icon + capability pills (audio start · BLE start · Camera · Archive) + last-seen timestamp.
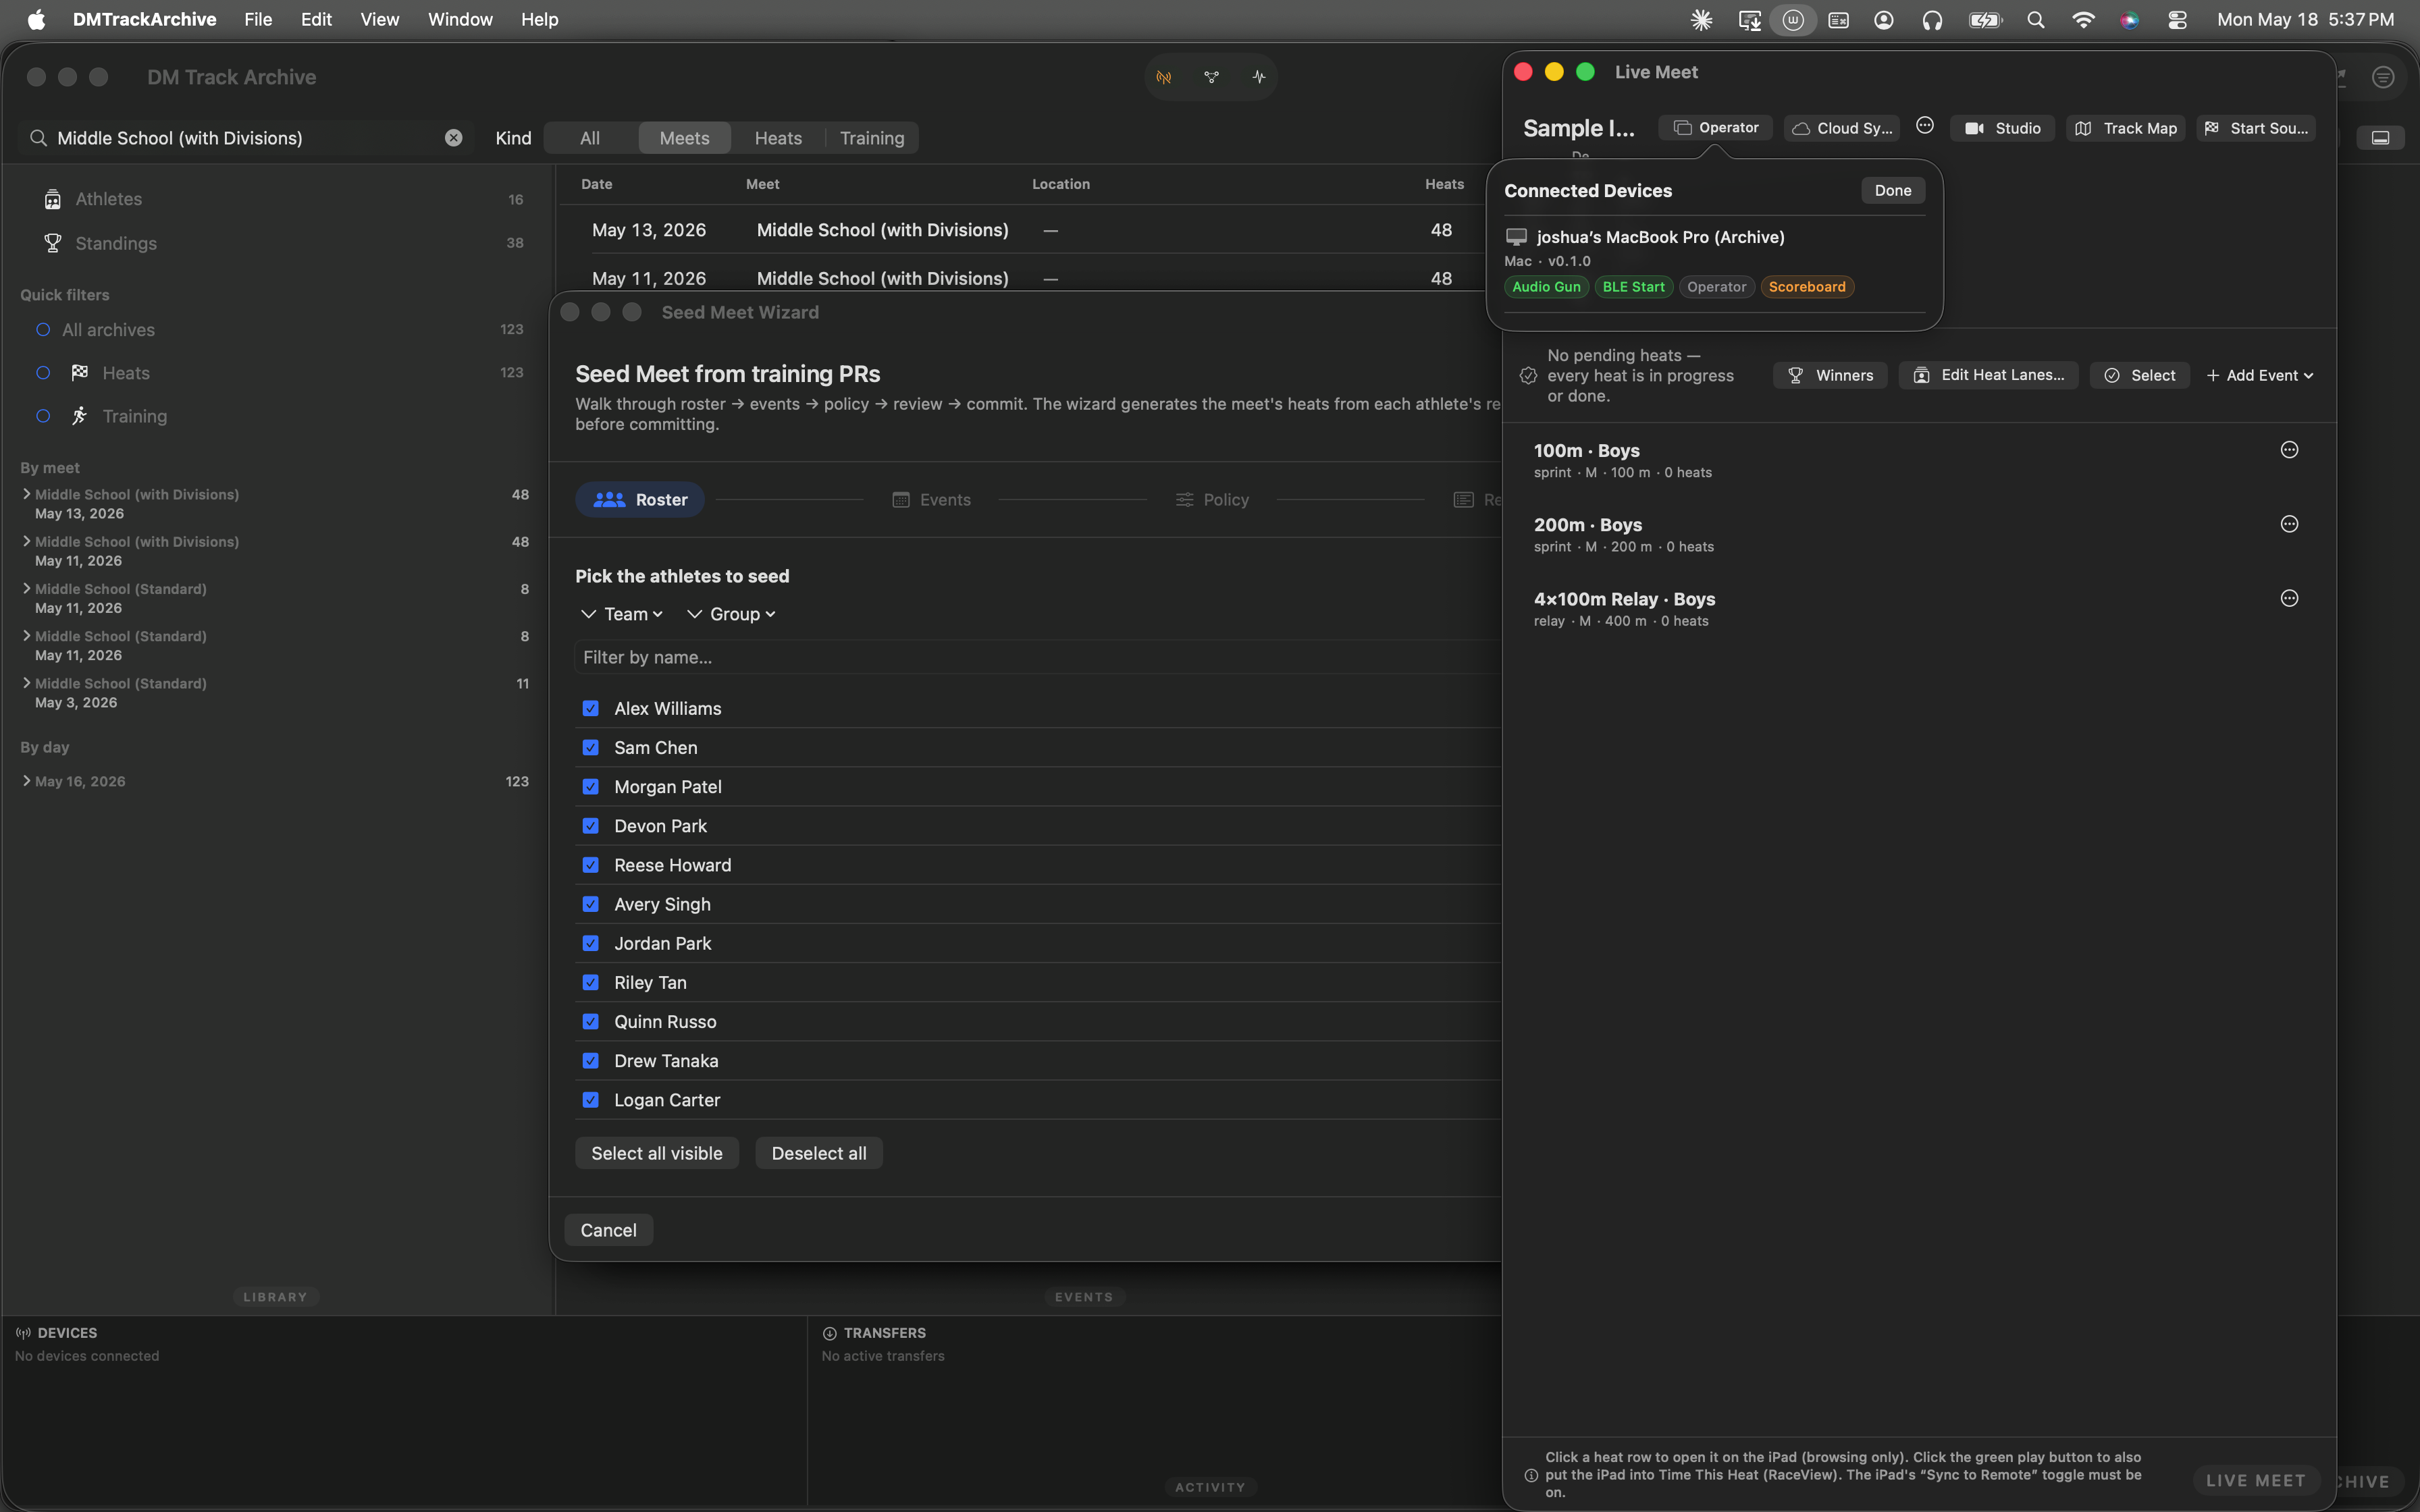
Capabilities popover for the Mac. R2's capability advertisement runs whether or not the chip is visible; the popover is just the operator's window into that cache.
What R1 covers and what's coming
- R1 — visibility (this walkthrough). The chip + the basic capabilities popover. Roles are computed from today's static architecture (iPad = Primary; Mac = Operator; iPhone = Satellite). Graduated to default-on 2026-05-18 — no flag required.
- R2 — capability advertisement. Every device broadcasts its capability flags (audio start, BLE start, camera, archive) periodically. The popover above renders this cache.
- R3 — operator-pinned finish-line iPhone. The Mac context menu on a connected iPhone lets the operator "pin" it as the finish camera; iPad filters detections to honor the assignment. Shipped, no walkthrough yet.
- R4+ deferred: Mac SwiftData ModelContainer + Standby host replication; iPhone as Primary host with race clock; hot handoff between Primary devices; eventually TV-as-operator-surface.
- This walkthrough is automated. The 5 screenshots above came from an XCUITest that drives the Window menu + Live Meet + chip + popover against a deterministic fixture. The menu screenshot hovers Live Meet before capture so the highlighted state is visible.
Other always-visible chrome
Cloud Sync chip (right of the role chip): shows whether the meet has a cloud-sync room joined, what the room code is, and how many other devices are subscribed. Tapping opens the Cloud Sync setup sheet. Walkthrough pending.
Meet menu (further right): edit meet, delete meet, switch active meet, export. The W1 awards-policy editor lives inside the Edit Meet sheet that this menu opens.